Tired of setting up your Java Development Environment over and over again for different machines, environments or platforms? Me too! That’s why I now run my Java Developer Environments inside a Docker Container. Problem Solved.
Running IntelliJ IDEA in Docker Container
Java developers have spoken and voted through developer surveys. Today’s favorite IDE is IntelliJ, taking anywhere between 60-80% of the developer base. Let’s take that to the next level and get you setup with Docker for your Java development environment with IntelliJ – community edition 2020.3
I wrote an article way back in 2017 Running NetBeans for your Java Development Environment … remember NetBeans?!
Well the landscape has changed quite a bit but I got a lot of slack from readers complaining … “Why Netbeans“? I went back to the drawing board and then came out with another docker image for Java development using eclipse and the Spring STS plugin – Running Spring Tool Suite 4 in Docker. That was better but still the people chanted “We want IntelliJ!“. Alright, alright, here it is and here we go!
I’m not going to go into the pros of running your IDE in a docker container since I have pounded on those points over and over again in the previous articles (see above). I’m going to show you how to get setup using the docker images I’ve developed for Linux hosts which are available on my DockerHub account and the setup script run.sh and Dockerfile are available on my GitHub account.
All you need is 1 command after git cloning the following on the Linux command line ..
|
1 2 3 4 |
$ git clone https://github.com/mvpjava/intelliJ-ce-idea.git $ cd intelliJ-ce-idea $ chmod 754 ./run.sh $ ./run.sh |
Hey, I see 4 commands up there .. be-quiet!
Preserving Your IntelliJ Developer Environment Preferences
We all have our own custom developer preferences, settings, plugins, theme etc .. in our IntelliJ environment. We don’t want to lose them every time we re-run our container! That would be very frustrating.
This IntelliJ Docker image has been setup to preserve the IDE state as well as allow you to perform your Java development as the $USER you actually are, not root.
It can be very frustrating when you exit the container and find your source code on the host is now owned by root! The run.sh script will detect which $USER is executing the script and create that user in the container so you don´t get those permission issues.
You can share your source code that is on your host machine with the docker container. Just place you source code in (default location) ${HOME}/IdeaIC2020.3/IdeaProjects
This directory and others will be created for you in order for the state of IntelliJ to persist on your host (through bind volume mounts). So if you download a plugin, it will be there the next time. By default your Maven $HOME/.m2 artifact directory is shared with the container so you don’t have to download the internet .. again.
I encourage you to take a look at the run.sh script and Dockerfile on MVP Java´s GitHub. I don’t want to paste it here because it will grow out of sync over time – I update them to make them better and also get good feedback from readers.
Running the Docker Setup Script | Show me IntelliJ
If you follow those 4 simple steps above (oh, I mean, 1 simple command) then you will see something like this ..
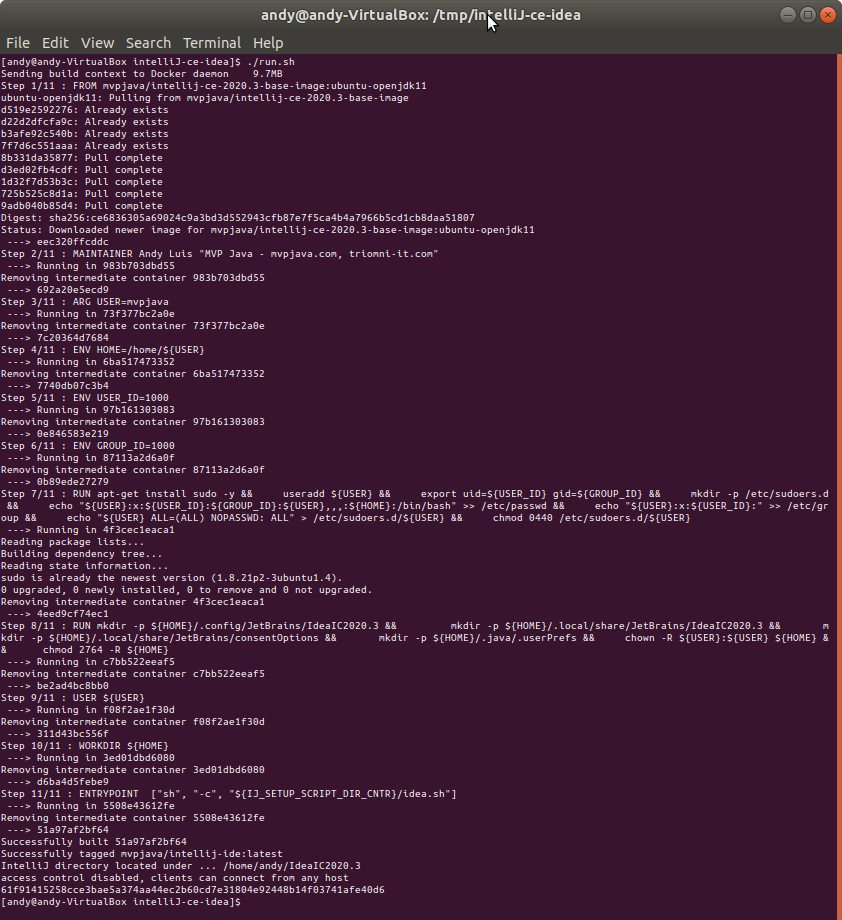
5 seconds after, wait for it …
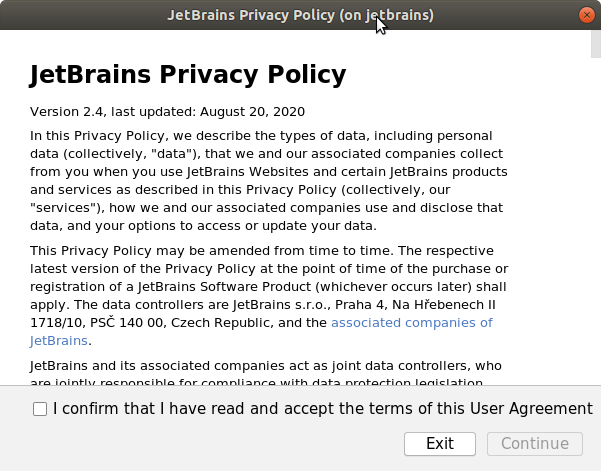
Check off the checkbox. You won’t be asked this again after the first time since the container will have access to this state information afterwards.
Then another screen ..
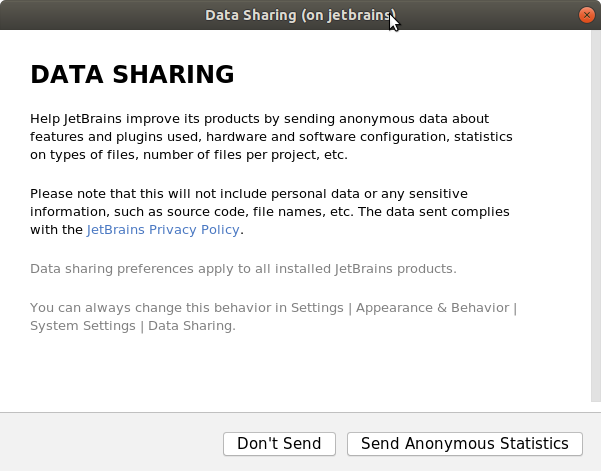
Unfortunately, this will keep popping up every time since we’re using the community edition. If you answer “Send Anonymous Statistics” it will leave you alone.
And drum roll …
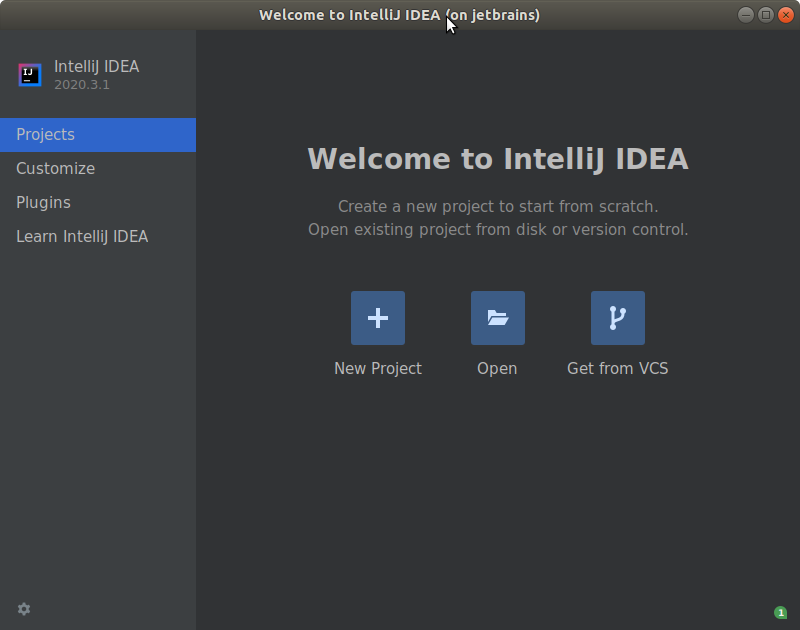
Developer Tools In Docker | Meat and Potatoes
The docker container runs on Ubuntu version 18.04.5 and will be running the following …
- IntelliJ IDEA Community Edition version 2020.3
- Zulu OpenJDK 11.0.10-11.45.27
- Maven 3.6.3
- Git – via package installer (version 2.17.1)
- curl – via package installer (version 7.58.0)
You have access to the command line and sudo, have fun!
The docker image is on the heavy side because it’s running Ubuntu in the context of a developer environment. By definition that makes it fat and happy so it may take a few minutes to download.
If you come back in a few days, I will have a YouTube video linked up to go through these simple steps.
Check out the YouTube Video Tutorial For “Docker for your Java Development Environment with IntelliJ” here ..
How to Create Docker Image for Java Application | Bonus
If you still reading this, great! Going a step further, you will want to eventually run your Java applications in smaller, lighter containers. Check out my article on How to Create Docker Image for Java Application
What do the people say now?
Happy coding 🙂
