If your a beginner wanting to learn about Spring Boot Security, you have to first understand how security is configured by default. This step by step tutorial is the perfect starting point to understand Spring Boot’s default security configuration. There’s also a hidden gem that has flown under the radar!
Spring Boot Security | Setup
I’m assuming your not completely new to Spring Boot due to the topic at hand, so let’s focus exclusively on Spring Boot Security. We need to get our Spring Boot application setup with the right security starter dependencies so everything can be auto-configured for us.
|
1 2 3 4 |
<dependency> <groupId>org.springframework.boot</groupId> <artifactId>spring-boot-starter-security</artifactId> </dependency> |
Starter dependencies in general aggregate related dependencies together and save us the time of manually registering Spring Beans that are needed by Spring. Specifically, “spring-boot-starter-security” uses the Class SecurityAutoConfiguration to auto-configure the default out of the box configuration for Spring Security.
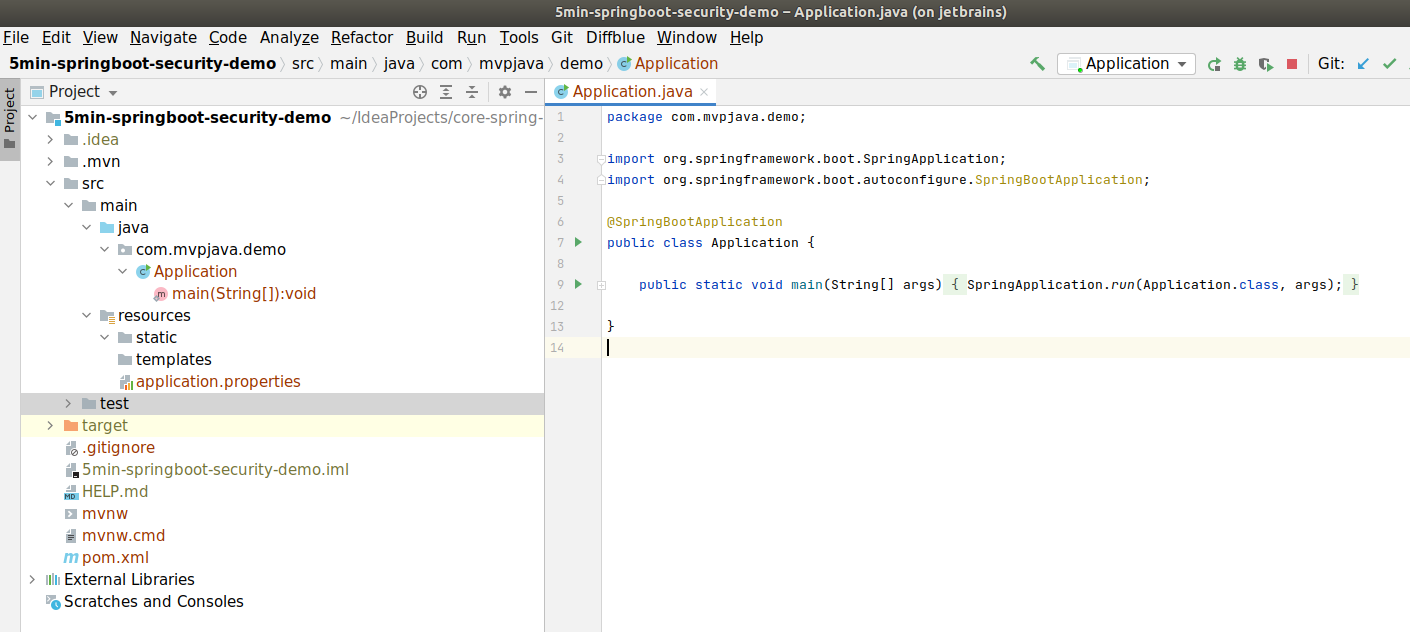
Once you import/create the Spring Boot Project into the IDE, the following default project structure will be presented. No resources, no code, just a main Spring Boot entry point Class with @SpringBootApplication with the correct starter dependencies.
So what does this thing do?!
Spring Boot Security | Default Configuration
Through the magic of Spring Boot auto-configuration, we get the following functional features setup by default ..
- A default user with username”user” with a unique UUID password generated in console on every application deployment
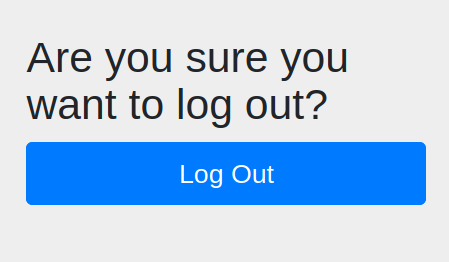
- Default login, logout page with sign-out functionality and error page
- Default Authentication Manager implementation based on username and password
- A content-negotiation strategy to determine what sort of authentication to trigger – Basic or Form-based Authentication
- Secure/locked-down by default configuration: All web resources require all users to be authenticated via a username/password
- Extra security protection for CSRF, XST, XSS attacks
- A Strict HTTP Firewall – our gem 🙂
There are many more auto-configured features however, we’ll stick to the features we’ll be able to see and interact with through the web browser.
Spring Boot Security | Architecture Basics – Filters
The way Spring Security is implemented for web based applications is through a chain Servlet Filters standing in front your secured web resources. When a HTTP request is made like http://mvpjava.com/someURI , it must first go through a chain of Spring Security filters. The same is true for the HTTP response.
Analogy time .. think of your protected resources as an airplane and each filter in the chain represent different check points we face at an airport before being allowed to board the airplane. There’s the check-in counter, the security check point (take off you shoes, please!), the boarding counter at your terminal gate and then the final ticket check as your entering the airplane. I hate flying!
Each checkpoint between you and the airplane has a specific purpose and together they form a chain of security points that we have to go through – its the same with these Spring Security Filters. Of course, we have to go through a similar process when we step off the plane. However, some things will be different – like picking up your luggage for instance or maybe going through customs. The HTTP response will also go through the filter chain on the return back to the client however, it may not have to exercise the same exact path or behavior.
Luckily, Spring Boot registers and bootstraps all these Servlet Filters as Spring beans for us in the Spring application context. The bootstrapping process happens through a javax.servlet.Filter acting as a proxy called DelegatingFilterProxy. It serves as the bridge between the web.xml (mostly hidden and generated from us) and Spring’s Application Context.
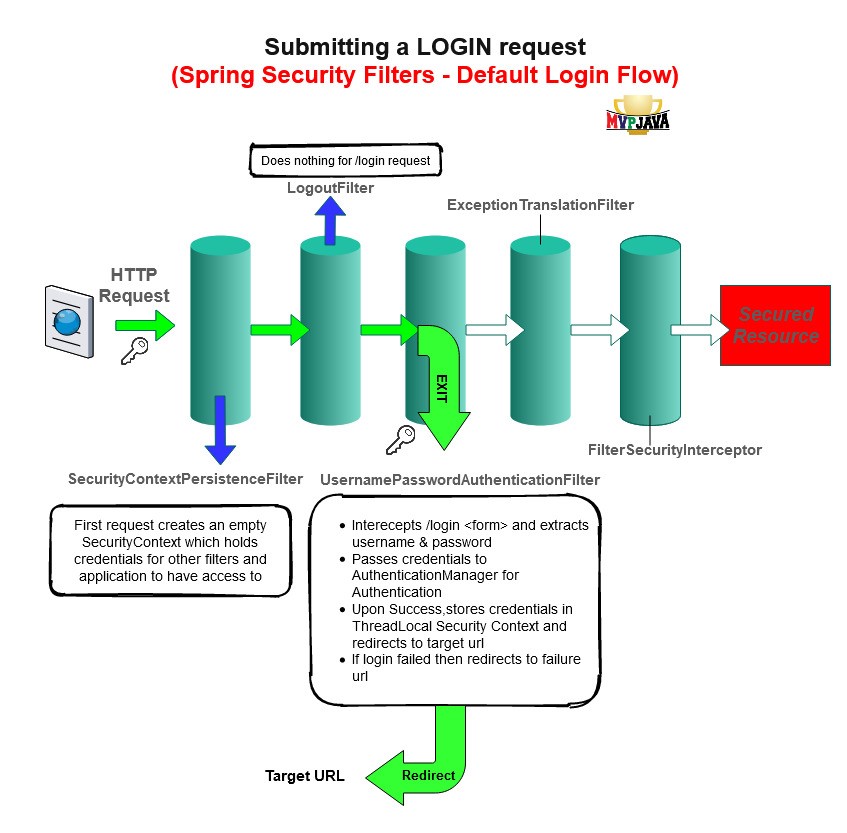
Here’s a visual flow on how the Spring Security Filters work on your first attempt at logging into the application.
Running your first Spring Boot Security Application
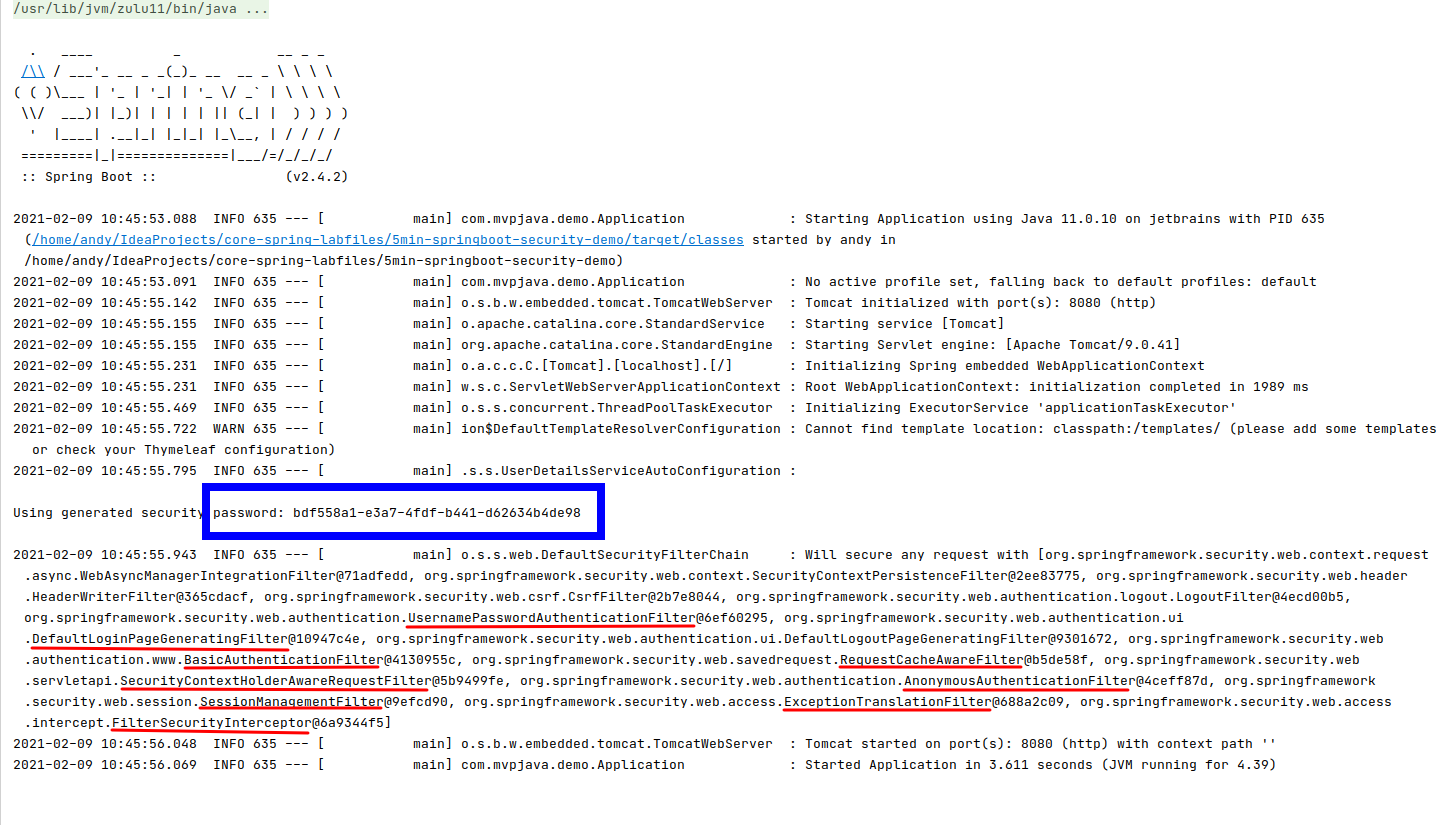
- The IDE console window reports the default user credentials which are needed to login (boxed in blue below – STEP 2 – Copy the password). Also notice that I’ve underlined in red, some of the Spring Boot Security filters that have been created.
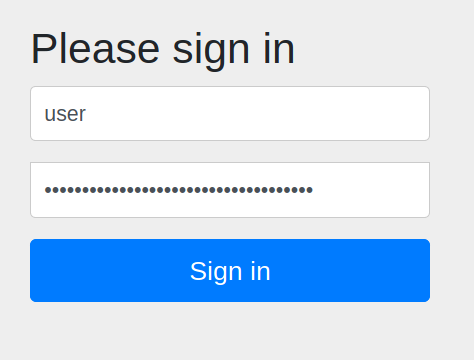
- We have an out of the box default login page provided by the DefaultLoginPageGeneratingFilter. STEP 3 – Login using the default User setup for us out of the box with username “user” and the password you copied over from the console.
Basic Authentication vs. Form-based Authentication
Basic Authentication uses an “Authorization” HTTP header to carry over the username and password. You can’t customize the form (generated by browser) or support sessions. Very common between services communicating over API’s which then add an encryption layer above that, like SSL.
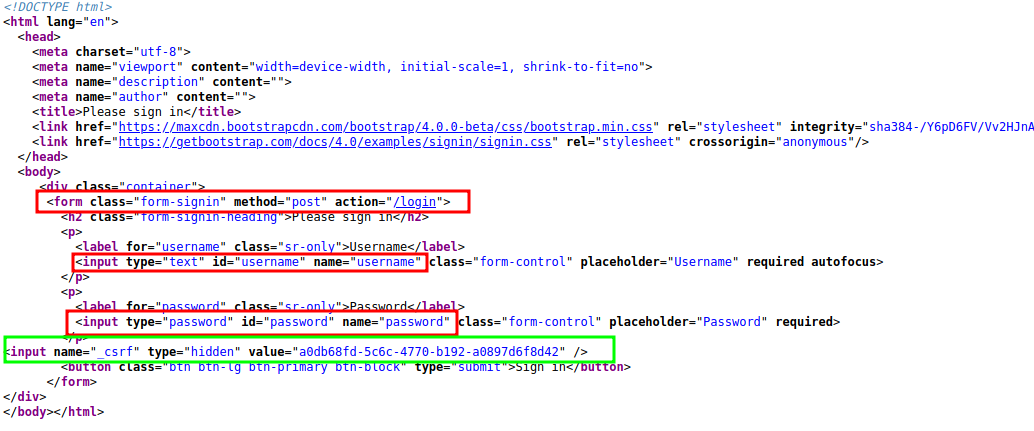
Form-based Auth is very flexible because it’s offers a programmatic solution. You code and customize an actual HTML <form> which is issued by a HTTP POST method with a default URL /login. The login form has to have specific default parameter names identifying the username and password fields as well. Those default names are by default “username” and “password” .. who would of guessed!? This will allow Spring Security’s UsernamePasswordAuthenticationFilter to intercept and process it because that’s what it expects.
Here’s how the HTML code for the default login page looks like
Default Spring Boot Security Error and Logout Page

|
1 |
http://localhost:8080/logout |
Spring Boot Security Hidden Gem | Bonus
Default HttpFirewall | First line of defense
Spring Boot Security gives us a fully functional HTTP Firewall out of the box. This gem has gone mostly unnoticed and flies under the radar since it doesn’t generate any logging messages … hmmm .. sneaky!
Spring achieves this by including a HttpFirewall before any HTTP requests are sent through the security filter chain. The strict http firewall will reject any suspicious requests by throwing an exception.
How Does HttpFirewall Protect Us?
The Http firewall sanitizes and protects us against potentially harmfully crafted URLs, even before they reach the security filter chain. Some hackers can craft certain URLs in a manner which bypasses security constraints (wild stuff you never thought possible).
As an example, there are certain URLs that contain non-printable characters that can circumvent security like mvpjava.com where the “a” in the URL is actually a Unicode character like mvpjаva.com that looks like the English ASCII character “a” but is not … crazy stuff!
The HttpFirewall from Spring Security does lots more, check out my blog post on it here.

